Create and Manage your Maps
Did you know in Elevate you have the ability to create a custom map, save it and share it with others?
This guide will help you create maps, rename the maps if necessary, create duplicate copies of your maps, save your map as an image, and manage your maps overall.
Create a new map
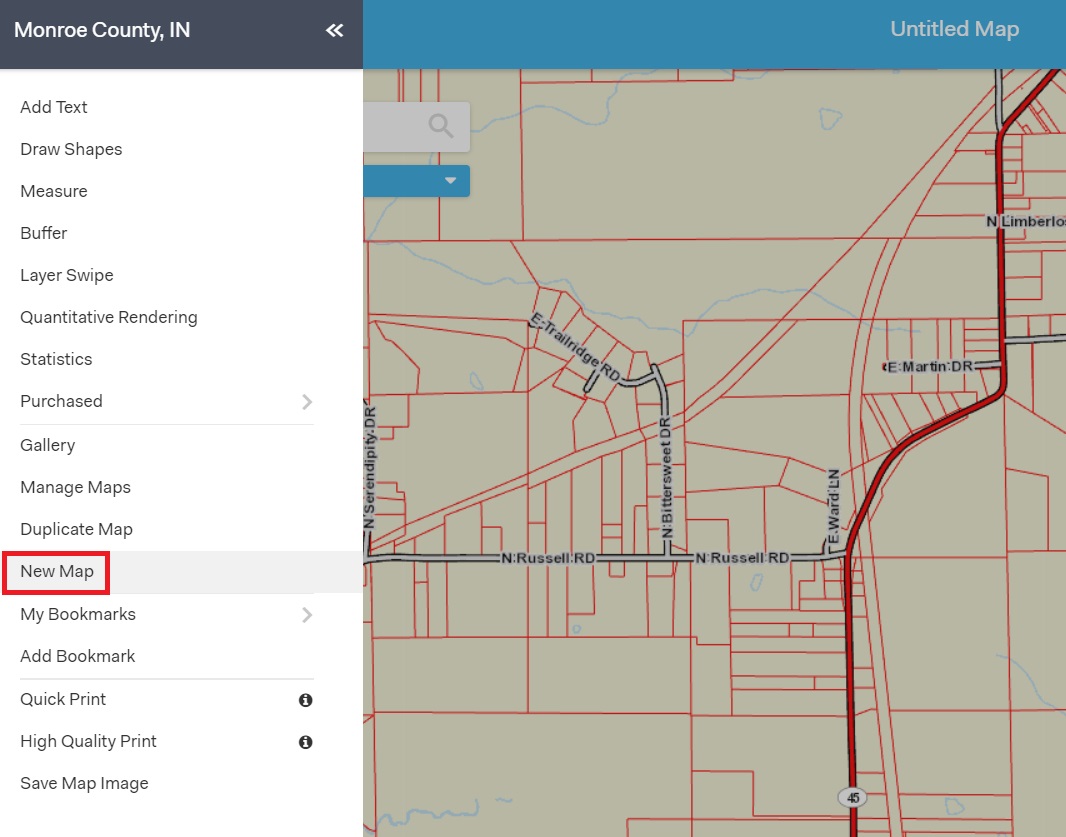
To create a new map, go to the Menu in the top-left of the screen, then click New Map. This will create a map of your current extent and layers.
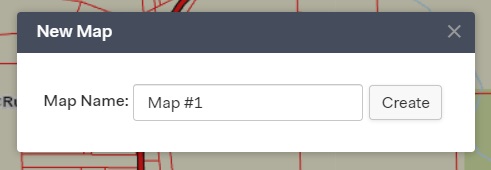
A pop-up window will appear. Type the name of your map into the box and click Create.
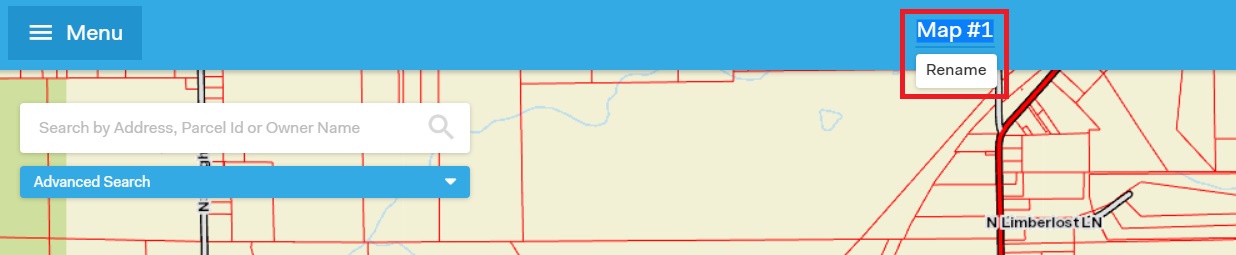
If you want to rename your map, simply click on the text in the top-middle section of the screen and begin typing the new name.
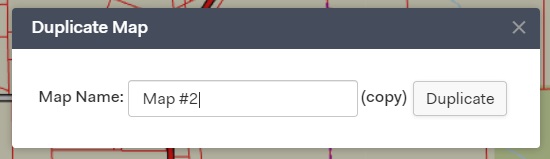
To create a duplicate of your map, click on the Menu in the top-left corner of the screen, then click Duplicate Map. Type the name of the duplicate map in the box, then click Duplicate. This will create a copy of your map.
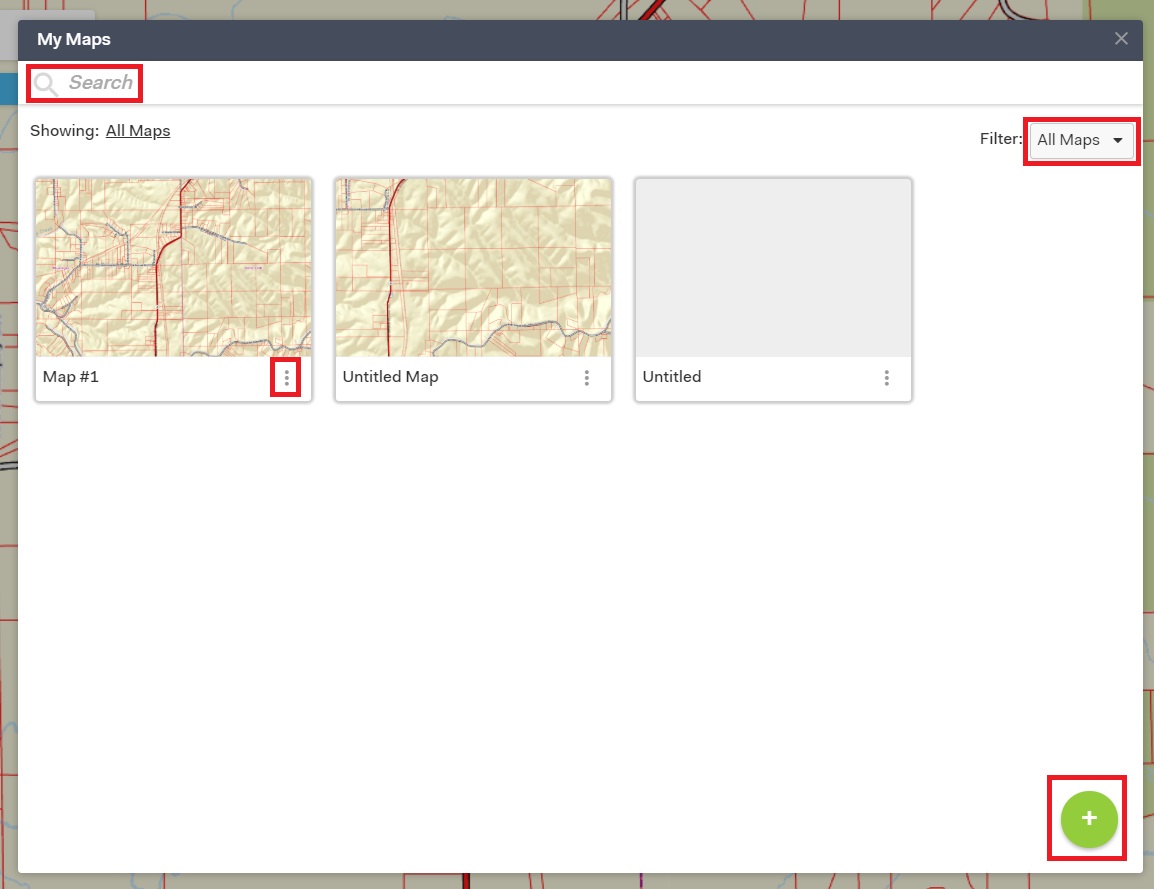
To manage your maps, click on the Menu in the top-left corner of the screen, then click Manage Maps. A pop-up window will appear with your maps.
Search for a specific map by typing the name into the Search bar at the top of the window.
Filter your maps based on specific qualities by selecting from the drop-down menu at the top-right corner of the window.
Delete, Share, Invite others, or Publish your map by clicking the 3 dots on the bottom-right corner of a specific map and choosing one of the options.
Add a new map by clicking the green circle with the "+" in the bottom-right corner of the window.