How to Measure
If you would like to take a measurement follow the directions below.
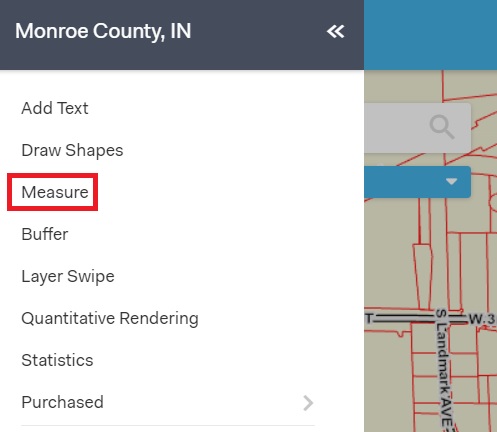
Click on the Menu button in the top left hand of your screen, then click on Measure.
The Measure toolbox will appear on your screen. The main features of the Measure toolbox are shown in the image below.
The first 5 buttons are tools you can use to make your measurement. From left to right, the tools include:
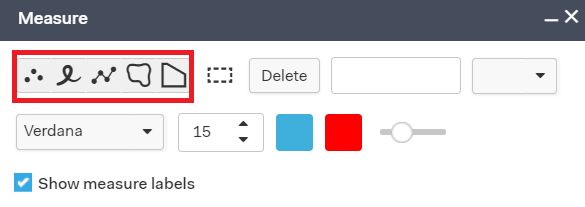
Point: Click on the map to show coordinates of a point.
Freehand Line: Click and hold your mouse to draw a line on the map to measure distance.
Polyline: Click to start your measurement then draw a line on the map to measure distance. To complete the measurement, double click your mouse.
Freehand Polygon: Click and hold down your mouse to draw a polygon on the map to measure area.
Polygon: Click to start your measurement then draw a polygon on the map to measure area. To complete the measurement, double click your mouse.
The last 2 buttons in the red box are the Select and Delete tools. Use these buttons to select drawings you have made, and to delete them if necessary.
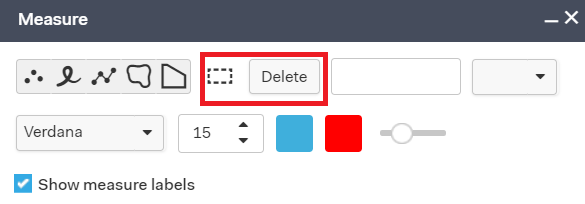
Other options inside the Measure toolbox.
Units: Change the units by selecting from the drop-down menu on the right side.
Font: Change the text font and size by adjusting the drop-down menus on the bottom left of the window.
Colors: Customize the feature and text colors by selecting the color squares.
Transparency: Change the transparency of your measurements by sliding the circle left or right on the line at the bottom.
Snap to an existing parcel line with the polyline or polygon tools: Hold down the ctrl key on your keyboard then hover the mouse over an existing parcel line. Once the black plus displays left click to snap to that feature
➕
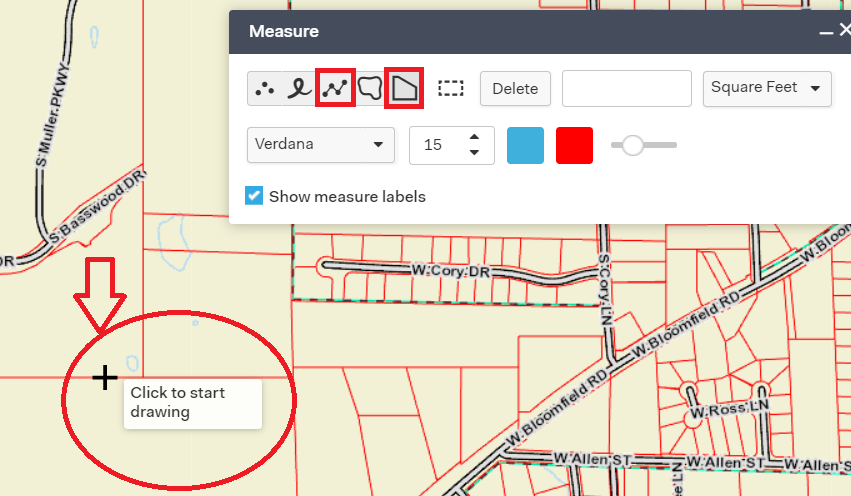
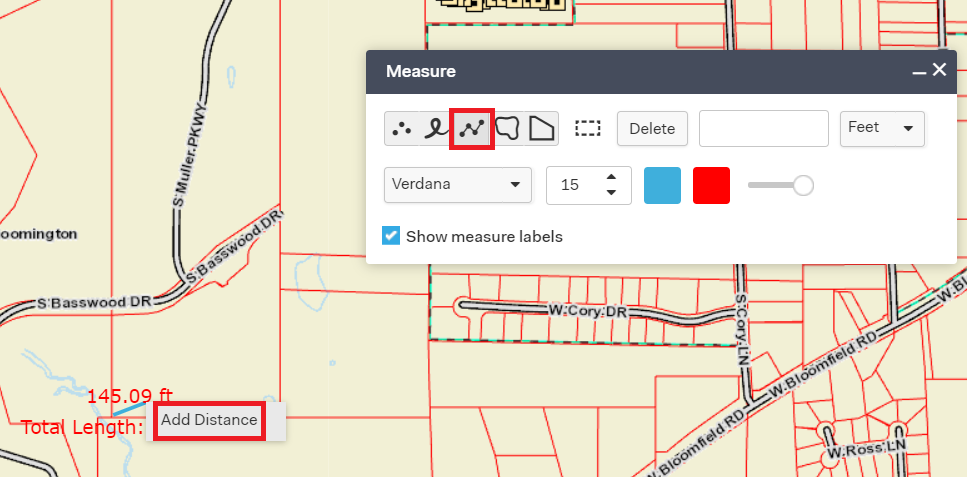
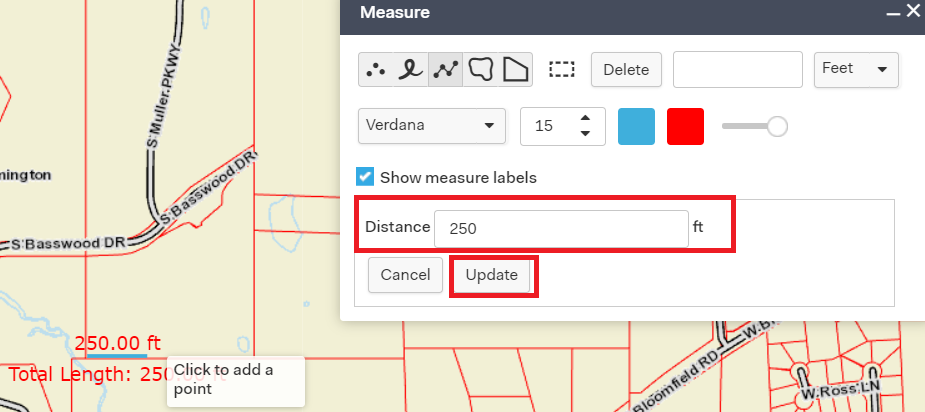
- Ability to set the measurement. To do this use the polyline tool and start the drawing by left clicking on the map, then right click and click on the Add Distance option. Type in the measurement and that will set the line to measure that distance exactly.
